

document library How-to Guide
What is A document library?
The Cascade Content Management System (CMS) is great for creating and managing assets such as web pages, events, and news articles. However, Cascade natively lacks the ability to easily build, manage, list, filter, and create a searchable digital document listing for your audiences until now. This tool can help collect information across websites into one area that your audience can then sort, filter, and search.
AGCOMM partnered with Seën Ventures to design and build a document library solution within Cascade that uses the same form and data-block process Cascade content creators are familiar with. This guide explains how to better understand, plan, and use this document library Asset Factory.
why use a document library?
Your web team has made adding a Document Library listing to Cascade easy. With some planning and the use of a pre-built Cascade Asset Factory, content creators can provide their content consumers with a searchable, filterable, paginated list of documents on any stand-alone Cascade site and sub-site page.
These document libraries can list thousands of row items per paginated page with the option of up to ten columns wide. This flexible solution looks very similar to a spreadsheet. For example, the screenshot shown below is an example of a document library listing digital documents stored internally and externally to the Cascade site: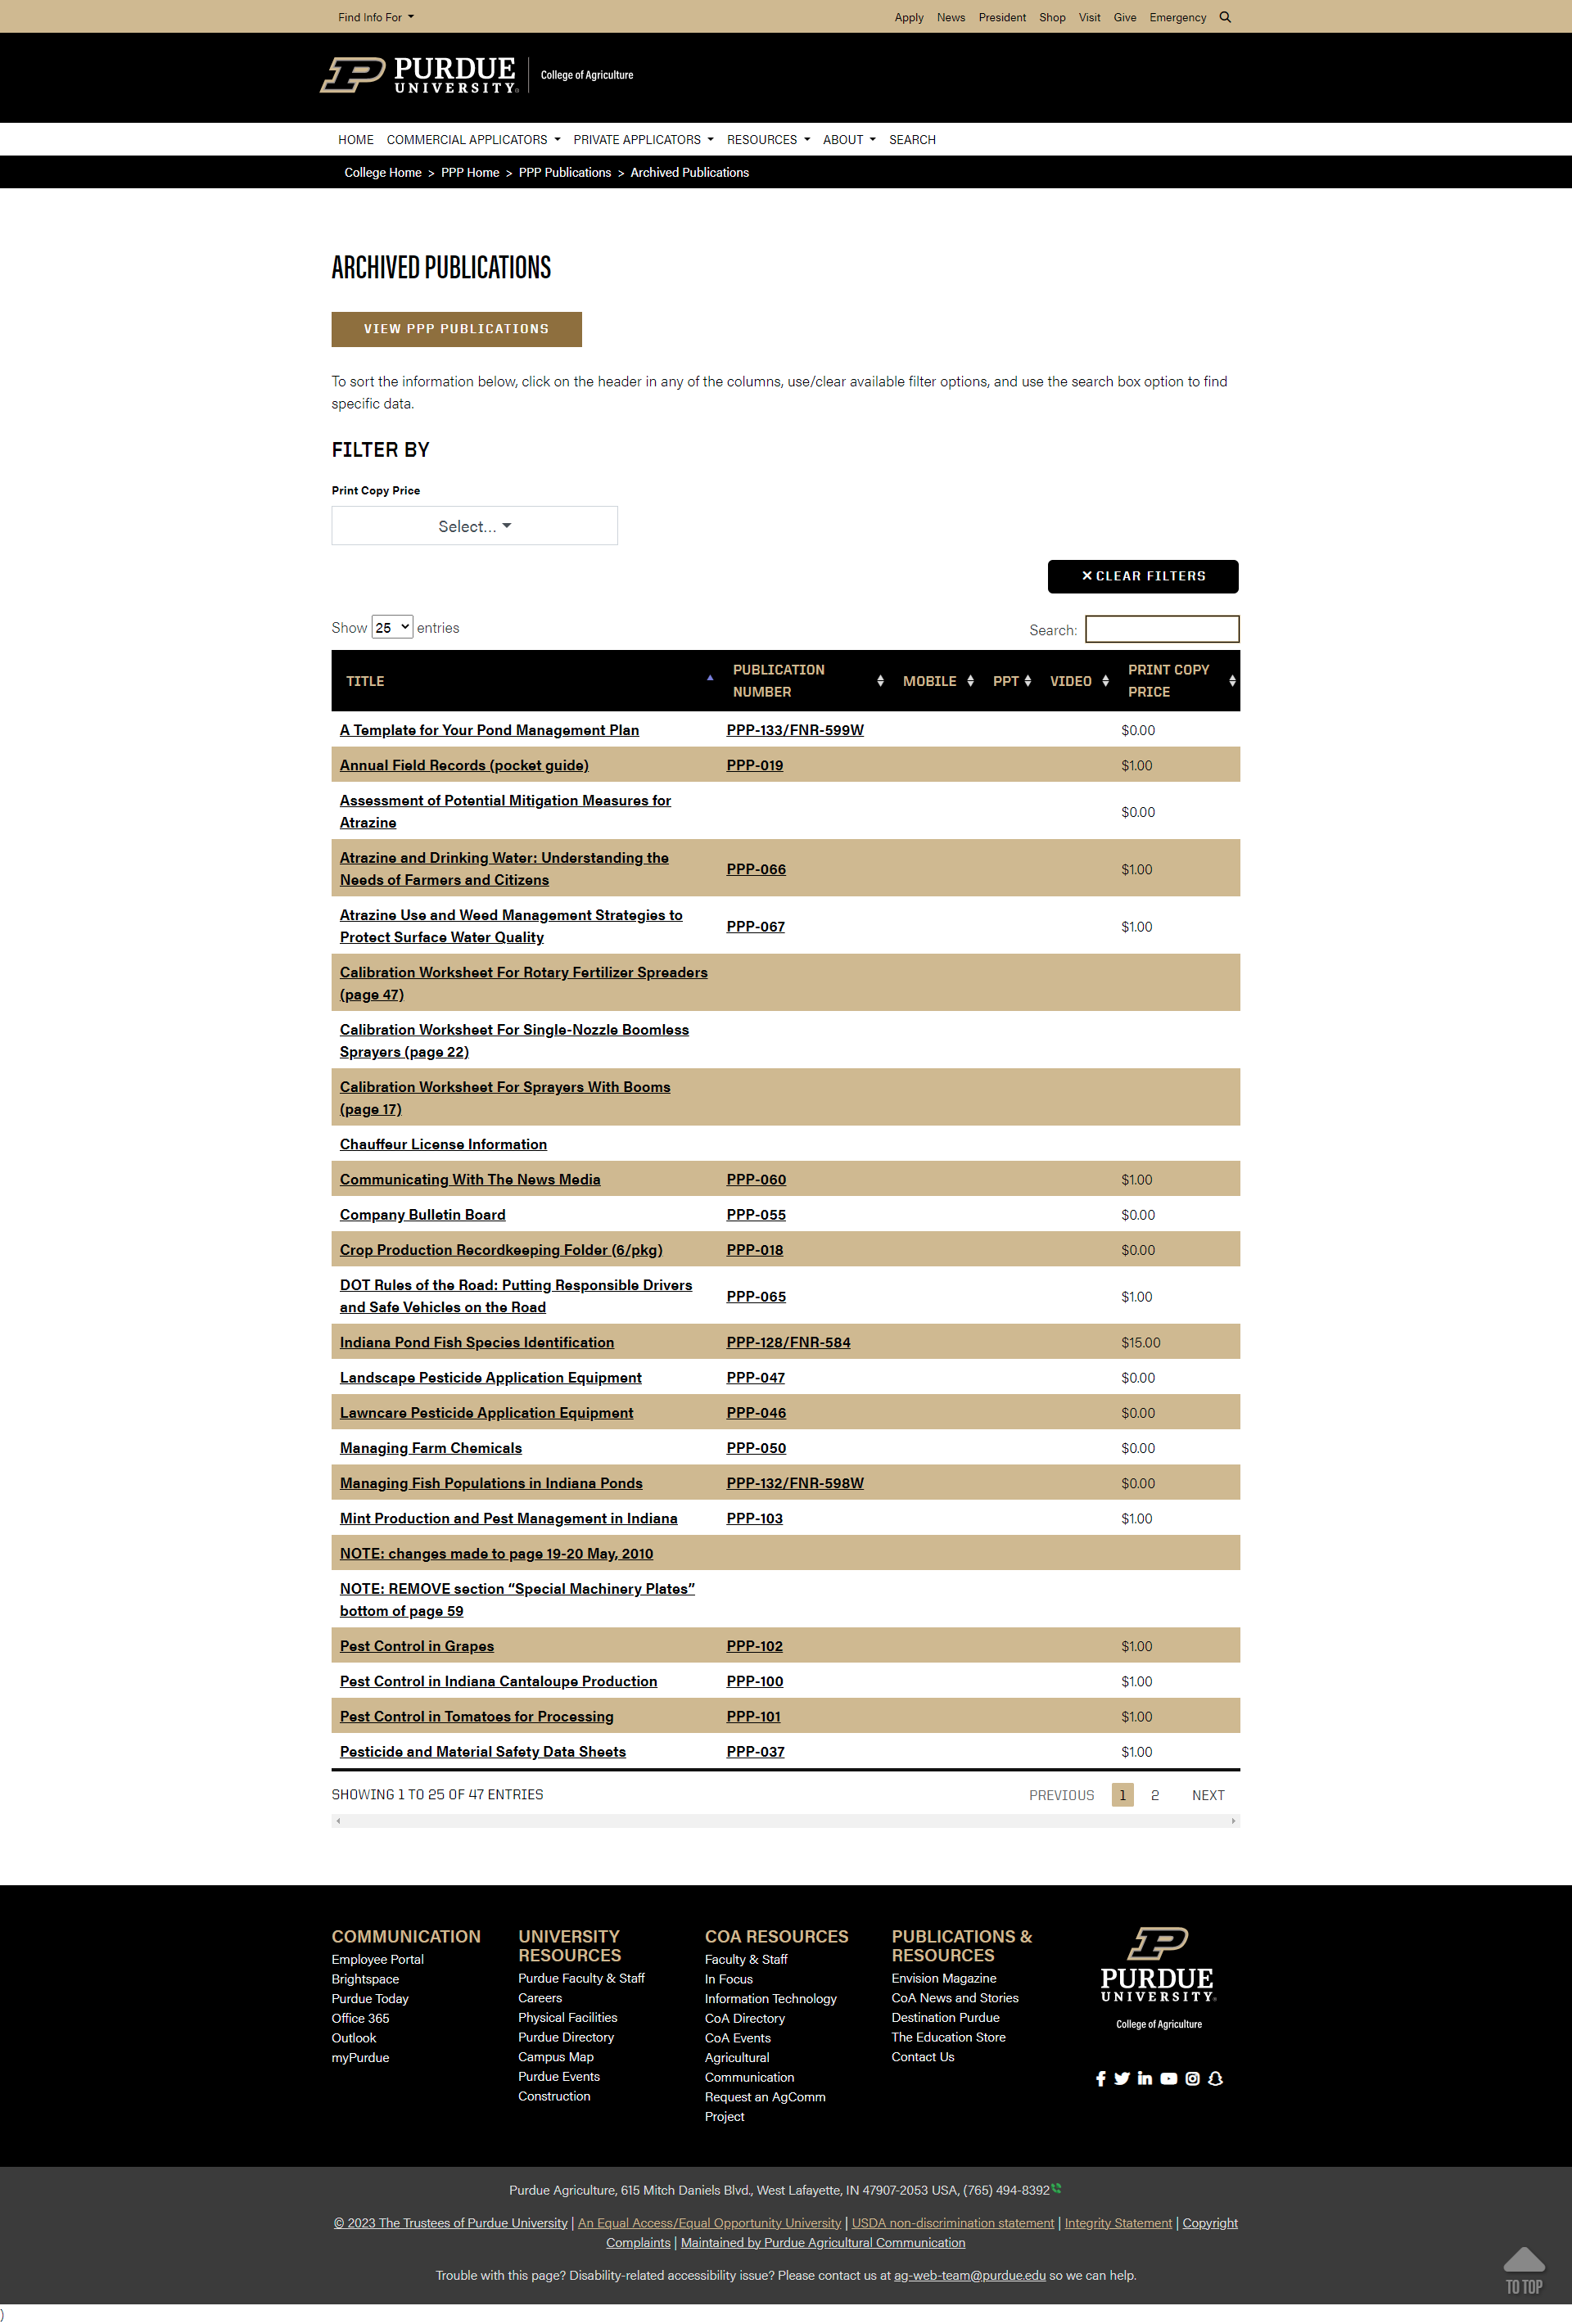
What can I share via a document library?
A document library can list internal and external content in a column. This data includes the choices of:
- Any Link or File (Internal or External): This includes links to anything on any site on the internet via a URL copy and paste.
- Short Text: It is recommended that this field data be 90 text characters or less to limit the amount of text content consumers have to process and navigate. Examples include book prices, job titles, physical addresses, etc.
- Internal Asset: This choice references...
- Paragraph Text: It is recommended that this field data be 120 text characters or less to limit the amount of text content consumers have to process and navigate. Examples include book summaries, job descriptions, etc.
- Predefined Option: A predefined data list that can help content creators enter uniform data entries via a reference list found in a document library's _instructions file. Examples include a list of state acronyms all capitalized, predefined book price choices to ensure consistent pricing, etc.
Note: The Short Text and Predefined Option choices are used to build the additional FILTER BY filter option at the top of a document library via the setup block. However, the easiest way to filter all listed items is the default search box.
Use cases for a document library are endless but include:
- Job board listing
- Video webinar listings
- Research documents
- Image resources
- Data resource listings
- Event listings
- Link farms to internal and external webpages
- Reference databases
how do I get started building a document library?
Review the steps below, create your plan, and open an AGCOMM project request:
document library request
Please contact your AGCOMM Web Lead with any questions on this Cascade soultion.
data entry and management steps
Plan ahead when adding a new Cascade document library. Decide how many columns you will need early on to avoid excess data entry later. For example, if you need six columns, make sure you plan to have six columns of data.
Adding columns later is possible, but removing columns later can be a lot of editing work. Planning late could mean a content editor will have to revisit each data entry (data row) and make edits to add or remove a removed column’s content or rearrange content in multiple data column fields per row entry. Contact your AGCOMM web support if you need help with column planning or have any questions.
This planning is used to create a document library setup file with instructions in Step 2.
Each document library contains a setup block file that can be edited like any other Cascade file via a series of form entries and options. Agcomm can help you fill in this form to match the columns you have planned for to include the data types for each column (full details listed at the top of this page):
- Any Link or File (Internal or External)
- Short Text
- Internal Asset
- Paragraph Text
- Predefined Option
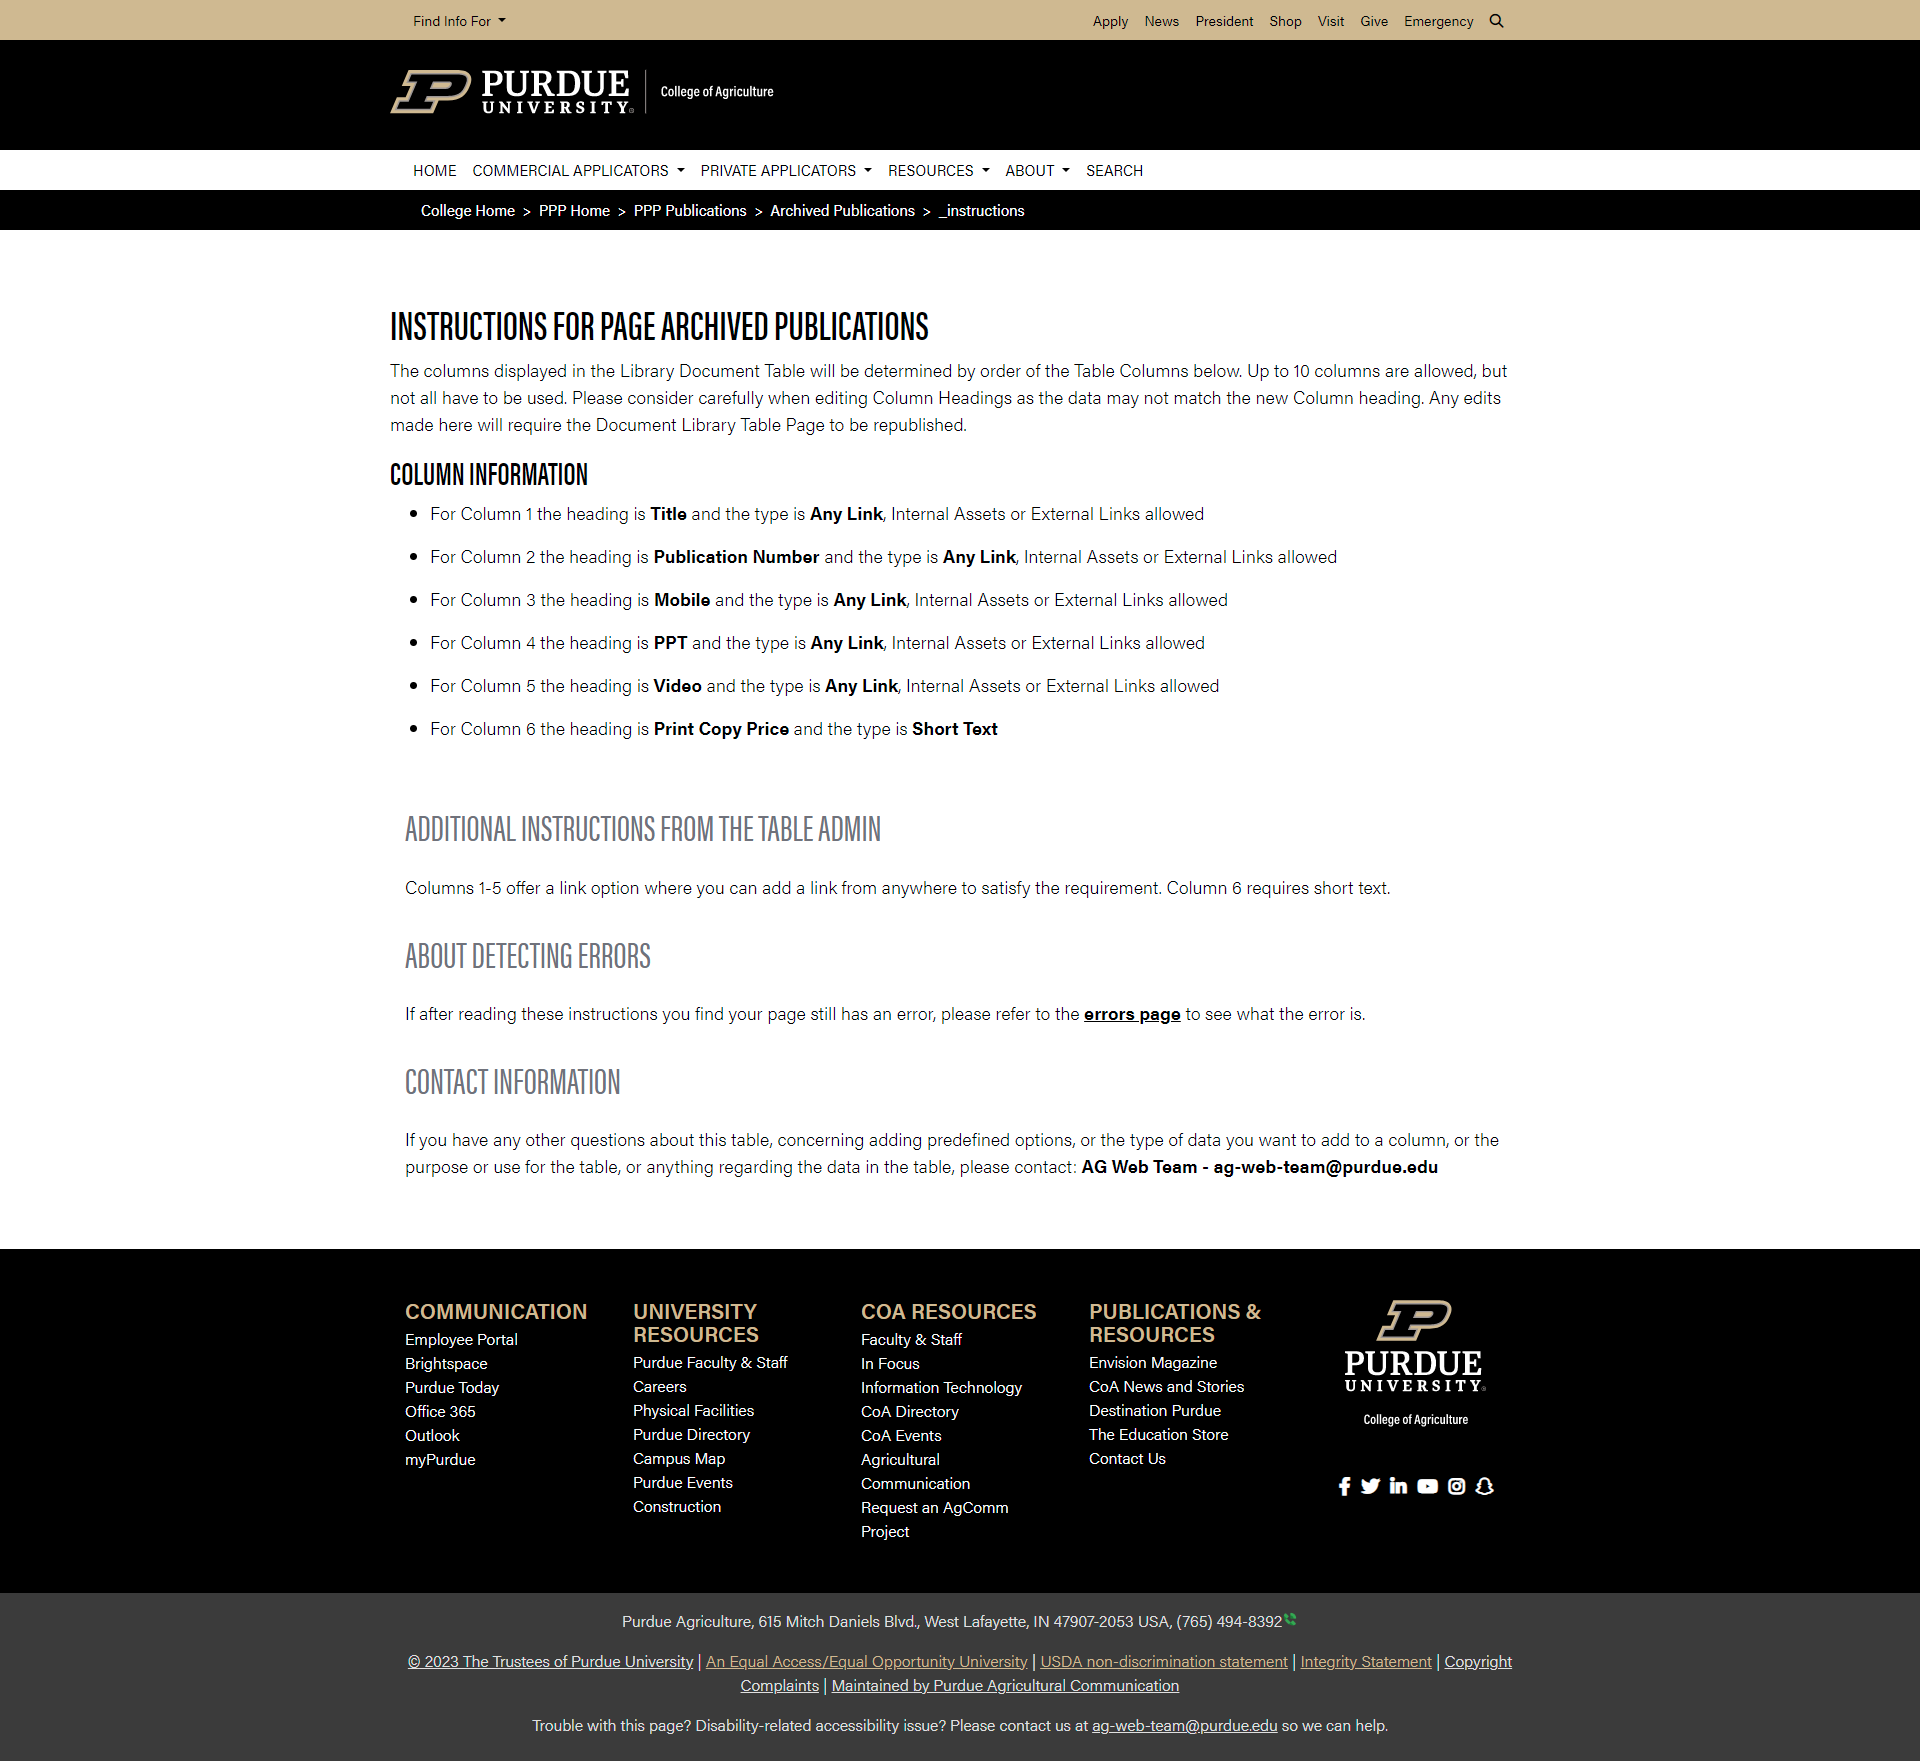
Instructions can be placed in the setup block which creates an output to an _instructions file used in Step 3 to help guide content creators in adding data entries per the original plan from Step 1. This is a screenshot example of the _instructions log located in the document library's row-content folder.
Step 3 requires an initial data entry to be created by following these steps:
- Click Add Content > Document Library > Row for Table.
- Name this data-entry something generic such as template to copy and reuse.
- Place this template in the document library's row-content folder.
- Click Submit.
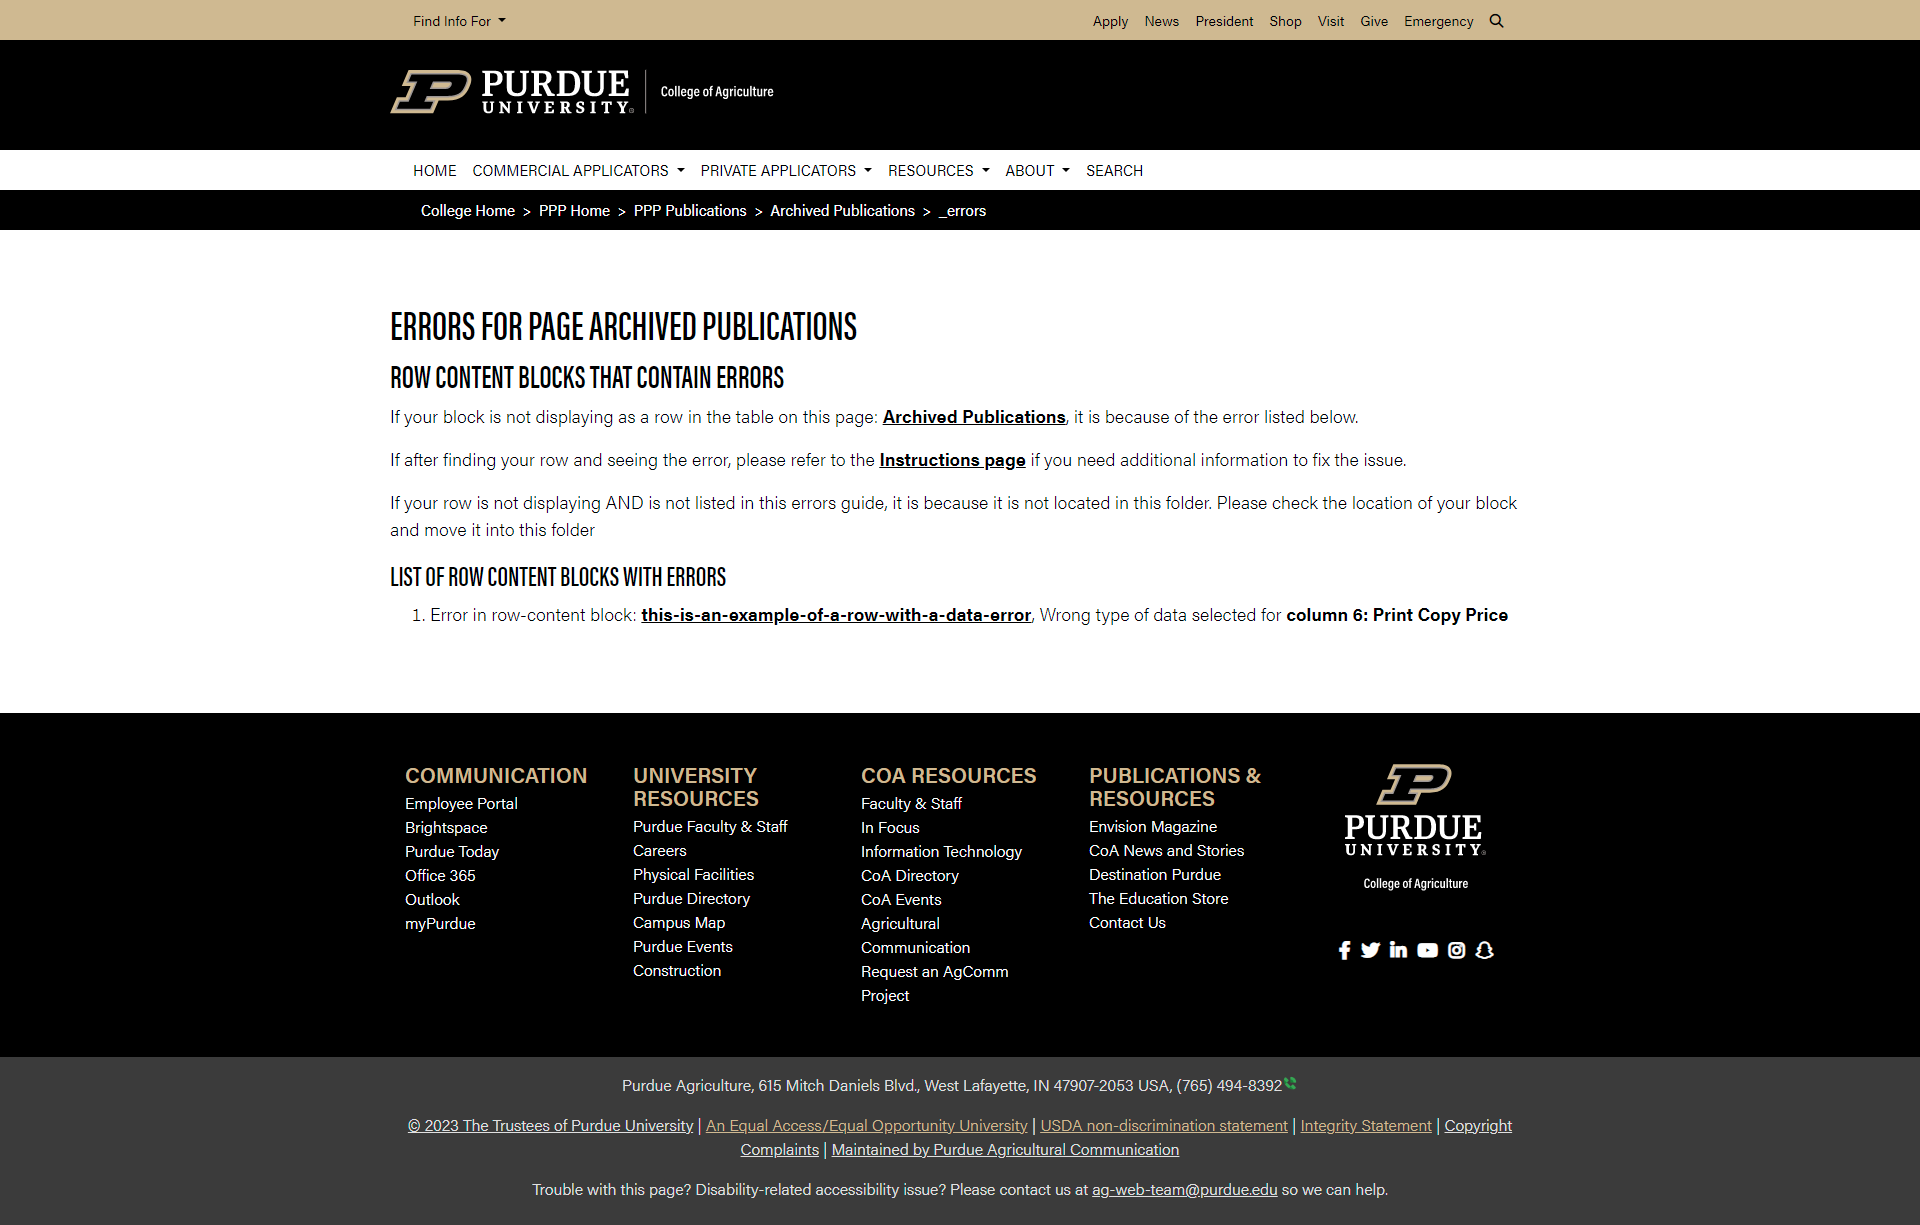
The fields in this data entry template must match the setup file's columns and instructions in Steps 1 through 2 for the document library to work without errors. For example, the planned number of column(s) from Step 1, and the data type(s) for each column must match the setup file from Step 2. If entries do not match you will see an error in the document libraries _errors log located in the document library's row-content folder.
Use the error log early and often to verify your initial data entry passes error-free. Once this is done you can copy and reuse the template or a previous error-free data entry to add more data to your document library. Continue to test often as you copy this data template and add more data entries. This will keep you from carrying a mistake too far forward.
The final, and constant step, is Step 4. This step is a reminder to maintain your document library just like any other asset in Cascade. Follow the maintenance phase tips for updating and removing web content per The Web Stewardship Best Practices Agreement.
Set data expiration and archive dates for row data as needed. For example, you may be listing job-wanted postings and want a row of data to disappear once a date window closes for job applicants. This can be done by setting editing a data row's end date and Expiration folder.
Follow these how-to steps:
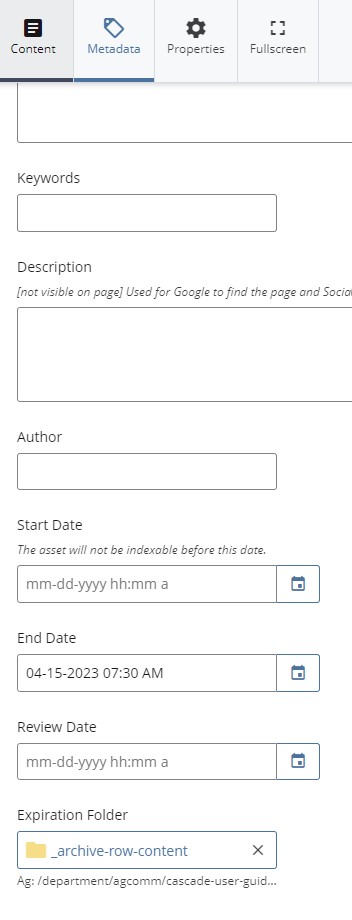
- Right-click on the data row to edit and choose Edit.
- Select the Metadata tab and add an End Date and set the Expiration Folder to point to your document library's pre-built archive folder for row data _archive/_archive-row-content
- Click Submit.
FAQ
Q: Are there an active example of a Cascade Document Library?
A: Yes. Here is a job board example and publication listing example.
Q: How can I verify what data is allowed?
A: Inspect the document library's root file named _instructions to see what each column expects for data entry. This area will also include any notes the original content creators wanted to share with their editors.
Q: How can I verify my data is being shown?
A: Inspect the document library's root file named _errors to see if Cascade identifies anything as a data entry error. You can also use the document library's filters and search to limit the data and verify your new data is being shown.
Q: Can I schedule data to remove itself when an expiration date is reached?
A: Yes! For example, you may be listing job-wanted postings and want a line of data to disappear once a date window closes for job applicants. See the data entry and management steps listed above.
Q: Can data be sorted by a specific column?
A: Yes. A column must be selected as the default sort column. This column can also sort in ascending or descending order on the index page load.
Q: What is the best format for creating and sorting dates?
A: yyyy/mm/dd for example January 31, 2055 would be 2055/01/31.
Q: I forgot how to add a data entry, what do I do?
A: To add a new data entry, you can follow these steps:
- Visit your document library folder in Cascade and locate the folder named _template. This folder contains a copy of your original data entry template.
- Copy this template to your row-content folder.
- Rename the copy and change its data form entries as needed.
If you need further assistance, you can always request support from AGCOMM by visiting the User Guide's Contact Us section.
Q: Can a Document Library page contain other block options such as those listed in the Cascade Block Guide?
A: No. This is to limit the amount of page loading and content options an end user would have to wait and navigate. However, call to action options of text links and clickable buttons can be added via the WYSIWYG editor.